
Featured Products
- Leveling Machine
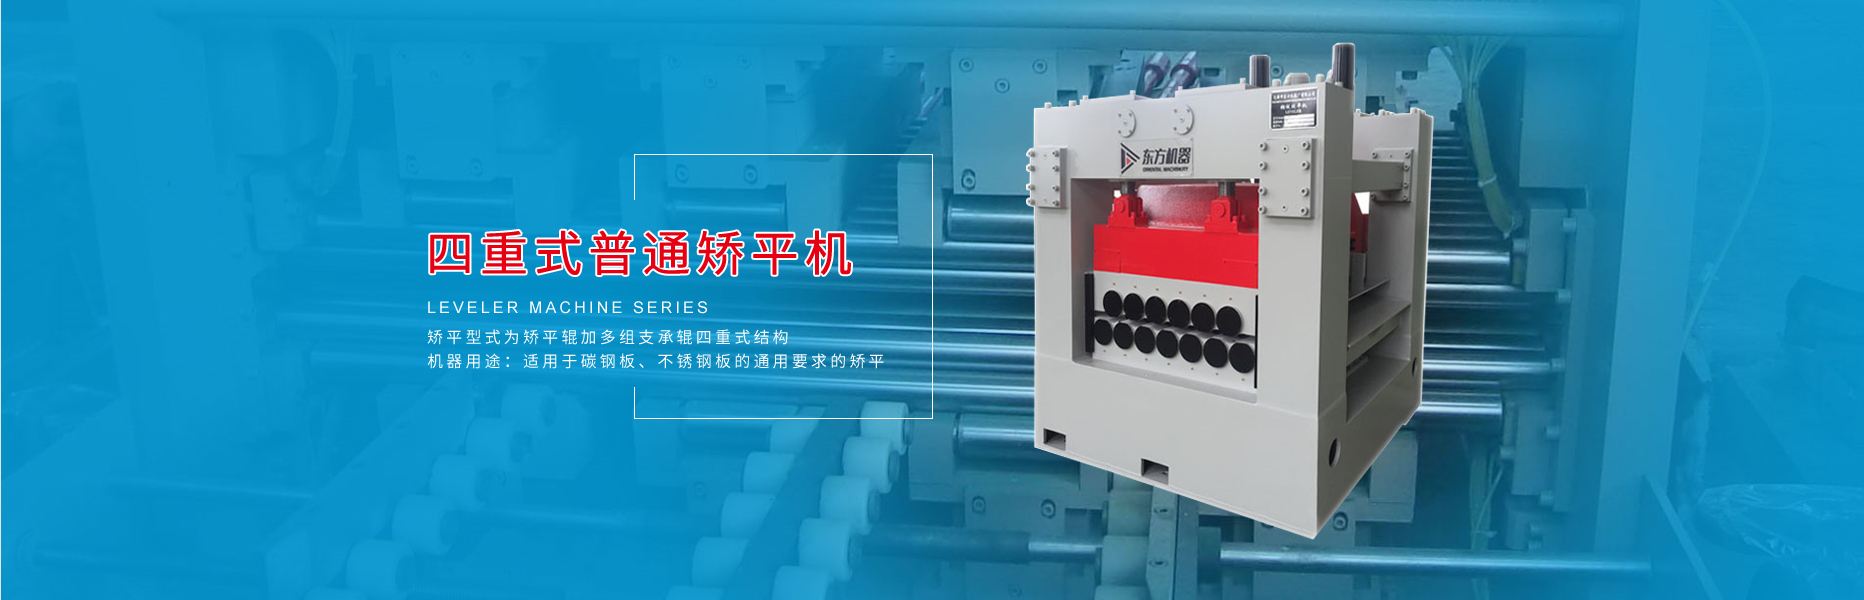
- 4-high leveler machine
- 6-high precise leveler machine
- Leveler machine for special...
- Coil Straightening Machine
- Automatic high speed cut...
- 6-high Automatic cut to...
- Automatic tracking shear...
- Automatic rotary shear...
- Tension leveling line
- Automatic high speed cut...
- Thick Plate Decoiling...
- Automatic Slitting Machine...
- Slitting Line
- Slitting and cutting to length...
- Main parts
Leveler Machine Series
Production Line Series
Cutting Machine
Intelligent container...
Cylinders of shear...
Contact us
- Wuxi Oriental Machinery Factory Co., LTD.
- Add:No. 50, Hongxiang Road, Hongshan Industrial Park, Wuxi City, Jiangsu Province
- Tel:86-510-88703103
- Fox:86-510-88213609-8008
- Jianwei.Tang 86-139-1533-8317
- Fan.Gao 86-159-6182-5555
| Safety Operating Procedures for Slitting Machines |
| Update Time:2015/8/5 9:07:50 Clicks:11281 |
We are all familiar with various processing equipment such as leveling machines, straightening machines, flattening machines, cut-to-length (CTL) lines, and slitting machines.
The editorial team at Dongfang Machinery has previously covered the operating methods and precautions for leveling machines, straightening machines, and flattening machines. In this article, we will introduce the safe operating procedures for slitting machines, which have been gaining significant attention recently. I. Machine Start-Up
Turn on the electrical isolating switch (located in front of the electrical control cabinet). Press the EMERGENCY STOP RESET and READY TO RUN buttons. Turn the key to switch the MACHINE to RUN (on the main console). Check that the voltage (380V) and current are correct and stable.
Turn on the hydraulic system power switch (located on the main hydraulic drive frame). Check that the oil level and pressure gauge readings of the main hydraulic drive system are correct and stable.
Open the pneumatic shut-off valve (located on the air inlet pipe beneath the pneumatic control cabinet). Check that the air pressure is correct (not less than 6.0 bar) and stable.
II. Control Settings
Set up the slitting menu according to the film type, thickness, length, width, and other parameters specified in the slitting plan.
Load the corresponding BOPP film profile from the PDF database.
Set the rewind length and width for the specified film.
Select the corresponding rewinding station, adjust the pressure roller arms and pressure rollers, and install the appropriate paper core.
III. Loading, Film Threading, and Film Splicing
Loading: According to the slitting plan and the crane operating procedures, use the overhead crane to lift the appropriate parent roll from the aging rack based on actual conditions. Place it on the unwinding stand of the slitting machine, selecting the direction based on whether the corona-treated surface faces inward or outward. Clamp the steel core using the control buttons, then remove the steel core support arm and the crane.
Film Threading: When there is no film on the slitting machine, threading is required. Use the film threading device and function keys to tie one end of the original film to the threading chain eyelet. Activate the threading button to guide the film along the slitting process path, distributing it evenly across all rollers.
Film Splicing: When film is already on the slitting machine and a roll change joint is needed, use the vacuum splicing table. First, move the splicing table to the working position. Manually flatten the film on the first traction roller of the slitting machine and activate the upper vacuum pump to hold the film flat against the splicing table. Apply double-sided adhesive tape and trim away the excess film beneath the tape. Flatten the film from the unwinding stand and activate the lower vacuum pump to hold it flat. Remove the paper backing from the adhesive tape and bond the films together smoothly. The joint must be neat and wrinkle-free. Then, turn off both upper and lower vacuum pumps and move the splicing table back to the non-working position.
IV. Machine Operation
After adjusting the specifications, install paper cores on the inner and outer rewinding arms, and ensure the pressure rollers are in the ready-to-run position. Notify all personnel to move away from the machine and prepare for operation.
Set the ANTI-STATIC BARS to AUTO on the main console. Activate READY TO RUN, then press MACHINE RUN to start the machine.
V. Slitting Control
During the slitting operation, carefully monitor and observe the slitting results. Make appropriate adjustments to the slitting speed, unwinding tension, contact pressure, bow roller, edge trimming traction roller, and edge guiding system.
VI. Material Collection
When the inner and outer rewinding is complete and the machine stops, use the film unloading button to transfer the film onto the prepared unloading cart. Cut the film and seal the film roll with sealing tape.
Use the chuck release button to loosen the chuck. Check whether the paper cores of all film rolls have been released. If any roll is still stuck on the core, manually remove it.
After ensuring all film rolls have been removed from the chuck and placed on the cart, use the film loading button to raise the rewinding arms, install the corresponding paper cores, neatly attach the film to the cores, and proceed with the next slitting cycle.
VII. Stopping the Machine
When the film roll reaches the preset length, the machine stops automatically.
During operation, press MACHINE STOP to stop the machine as needed.
For a quick stop, press and hold the MACHINE STOP button for more than 2 seconds.
In the event of an equipment malfunction or personnel emergency, press the EMERGENCY STOP button for an immediate shutdown.
VIII. Precautions
Before starting the machine, ensure that the voltage, current, and hydraulic pressure readings are correct and stable.
Before the machine is ready to run, all personnel must be notified to move away from the equipment. Ensure personal safety before starting operation.
While the slitting machine is running, never touch the running film rolls or roller cores with your hands to avoid the risk of hands being pulled in and causing personal injury.
During operation, never use knives or hard objects that could scratch or cut any roller cores.
For more information about slitting machines, please visit http://www.dfjq.com
|
Total Pages:1 Page 1  |
| Previous Article:The difference between a cut-to-length line and a leveling machine Next Article:High-Standard Castings Make High-Quality Leveling Machines |